Jamberry! Oh Jamberry! Even if you're remotely interested in Health & Beauty products, you must have heard about these fancy nail wraps in some form or another. Be it for their trendy designs, holiday collections, nail stencils, controversies or pushy sales consultants. When I was offered to try out their products, I'll admit I was a little hesitant. I'm an honest blogger. I say how it is. If I don't like it, I'll say it and if I do, I don't want all the Jamberry consultants out there throwing eggs on my Instagram post. In a way, I'm a little relieved that I actually really like them.
As a Jamberry newbie, I have done pretty well on my first try. To be honest, before these I've never tried anything remotely artificial on my nails, nail wraps included. So I had zero clue how to go about the procedure. I looked at 2 online tutorials on Jamberry's website- An application video and a tips & tricks video. I pretty much followed these two tutorials to the T and got it right! Something so rare.
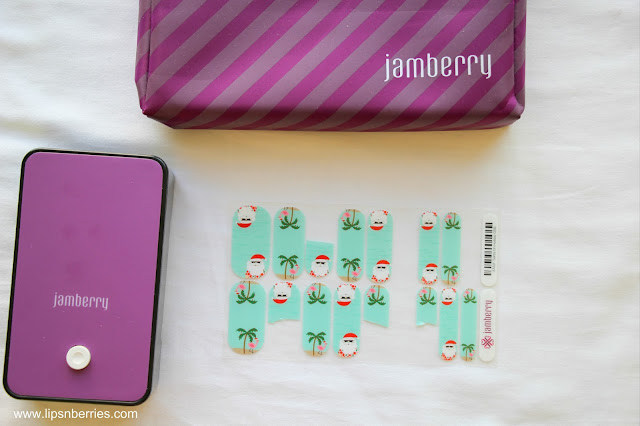
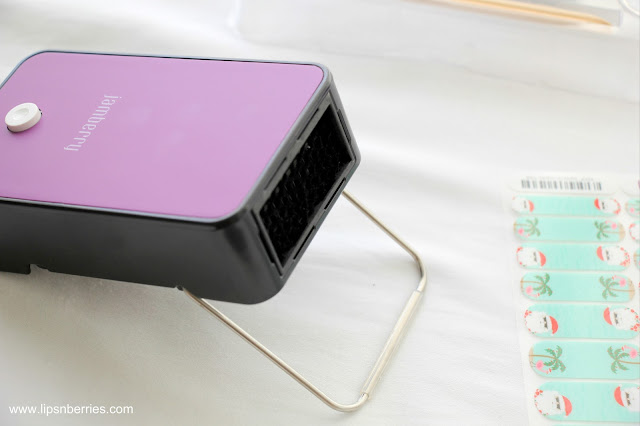
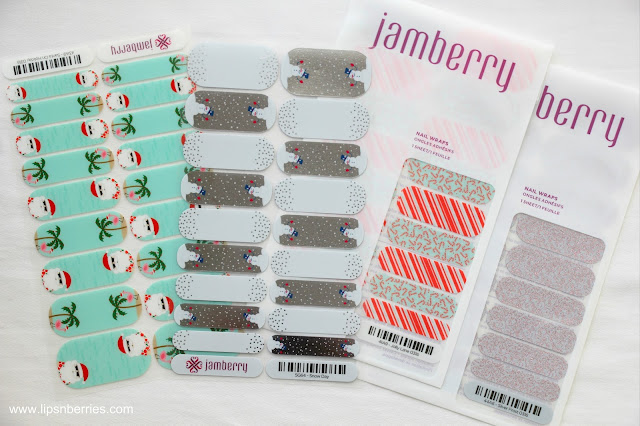
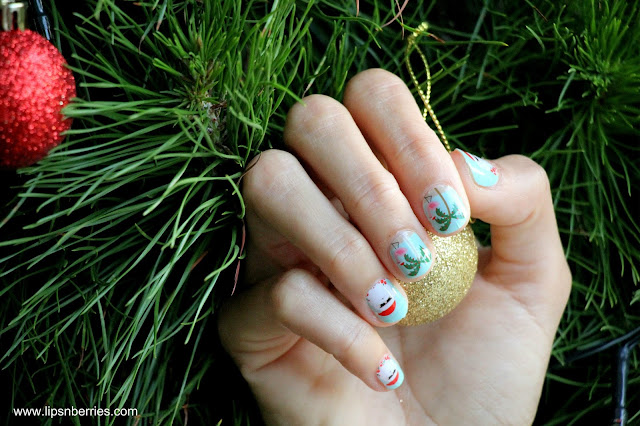
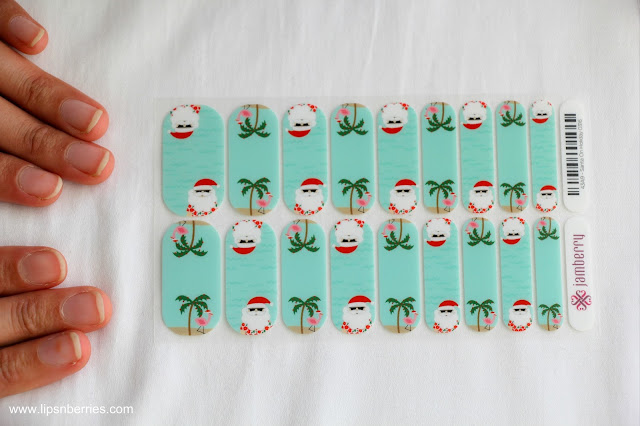
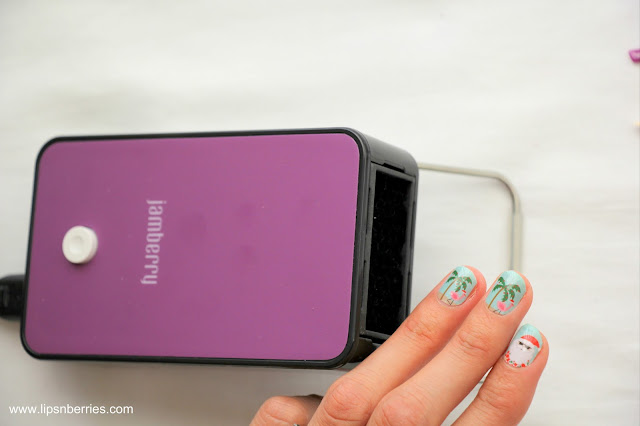
I've had the products sent to me weeks ago but had been putting off the application part, fearing it'll take forever and I'll mess it up. As soon as I attempted the procedure, I pretty much regretted all the time I wasted. It was easy! To be honest, the application kit and mini heater sent to me with the wraps was the key. Surprisingly, I ended up using each and every product in the kit- The nail clipper, nail scissors, nail buffer, 2 x nail wipes, rubber cuticle pusher, a nail filer & 2 x Orange sticks (but these are not orange). The mini heater had a very handy stand and one push button function. I didn't need no cumbersome hair dryer nor did I need to hold it in my pre-occupied hands. It was definitely the tools that made it easier. Everything that I needed to get started was there, including 4 Christmas Nail wraps. I had my eyes set on the summery mint 'Santa on Holiday' wrap so a very beachy Santa it was.. Flamingos, palms n all. I really hope my nails last till Christmas because I'd frikkin love to rock it on that day. I'm already collecting compliments. Husband loves it. He even helped me take pictures for a step by step tutorial.
As mentioned in nail prep videos and few other articles that I read on the nail wrap application, prepping nails is the key. Being a lab technician that washes hands million times a day, I admit my hands and nails aren't something I take pride in. Moreover, they are huge. I hardly ever do a thing for my nails unless there's an occasion coming up. I just can't be bothered with putting on and then taking off chipped nail paint so avoiding it all together is way better. My nail neglect meant I had to spend a good 5-10 minutes prepping my nails.
Good nail prep is the key to long lasting nails (upto 2 weeks)
Here's step by step pictorial of me prepping nails before the Jamberry nail wrap application.
1. Wash hands- to remove all dirt, grime and oil off nails. If there's oil or any hand cream on, wraps wouldn't stick nicely and wouldn't last as long. Some even recommended washing with a dish soap. I used my normal hand wash.
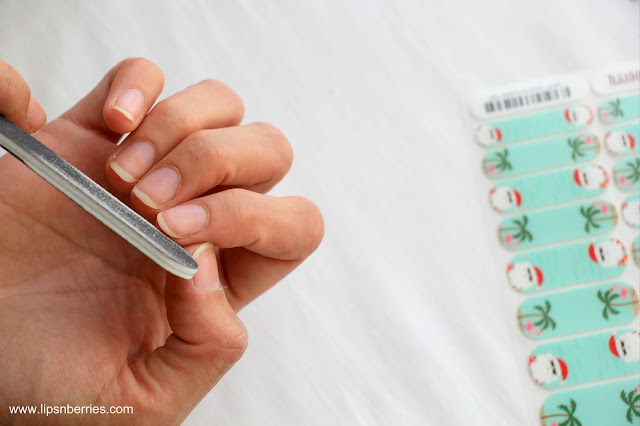
2. I filed my nails to give them an oval shape. Any shape that you prefer is ok. I think oval kinda works better (& easier!).
3. Using the cuticle pusher, I pushed back my cuticles. Something I haven't done in years but is so satisfying to do. This creates more space near nail bed.
Basically the nail wrap will come off or bubble wherever it comes in contact with skin so I tried my best to not let any skin near the wrap.
4. Buffed the nails with Nail buffer to smooth out any nail ridges.
5. Wiped down all the nails with a pre-manicure wipe that came with the pack. You can use regular alcohol at this step. This will take away any dirt, residue or oil before application.
The nail prep took me around 5 minutes.
Lets get started with the wraps! Here's a step by step pictorial.
6. Choose your wrap. Each sheet has 18 nail wraps, which when used in half (as they are) makes it to 72 individual nails, that is about 7 manicures. However, the wraps are in different sizes so my guess is a max 5 manicures with one sheet, which is still a steal for $24 that one sheet costs, so about $5 per manicure.
The key to choosing a size for your wrap is to chose one that is similar or smaller to the size of your nail. Any bigger will touch adjoining skin, hence making a mess and reducing the longevity of your manicure. I mostly went with a tad smaller size for all my nails. I'm ok with a little exposed edges. No one can see it except myself!
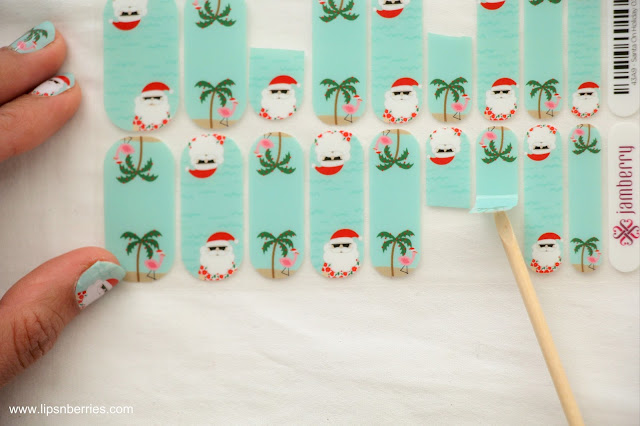
7. Once decided on the size, I used the orange stick to lift the wrap up.
It is recommended to never touch the glue with hands and I didn't. Use the second stick for help if needed but don't just touch.
8. Cut the wrap into half
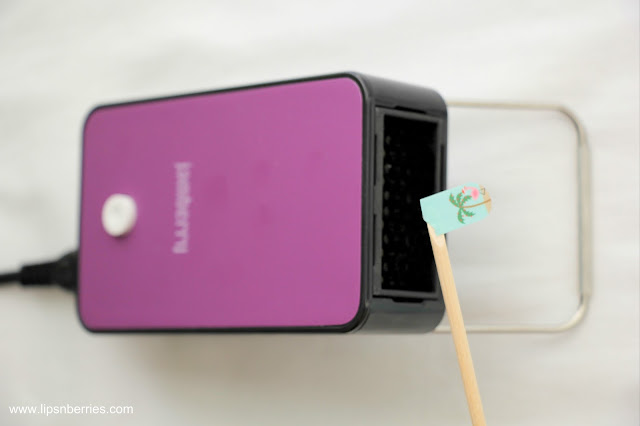
9. Peel the cut wrap with orange stick and expose the wrap to heat for like 5 seconds. You know its done when the wrap becomes a little soft and curls up a little. Only a little.
The wraps are pressure and heat activated.
10. Apply the wrap gently, using orange sticks where necessary, making sure the wrap doesn't touch any skin. The flat end of the stick was so handy in application around the edges.
Apply pressure with opposite thumb and smooth out the wrap. If there's a bubble, the wrap can be stretched a little from the top after warming up (not sides).
11. Cut the excess wrap with scissors and discard.
12. I used the rubber cuticle pusher to really get into cuticles so the wrap sticks only to the nail bed and not skin.
13. If you're happy with the look, use nail filer in downward motion to get rid of excess nail wrap.
14. Here's how it'll peel off after a few downward strokes with nail filer
15. Apply heat for the final time using the mini heater or the hair dryer for 5 seconds or so to really seal the deal. Apply pressure with opposite thumb to smooth out the wrap.
16. Done!
The process is pretty straight forward and easy once you are on to it. Because I was taking step by step pictures as well, it took me nearly an hour to finish this look. If done in one stretch, I feel it'll take me around 30-40 minutes to do both hands. Oh! I was able to do the left hand myself. I little tricky but not so much of a hassle.
I'm really happy with how they've held on. I've only had them for 3 days and haven't had any peeling, fading or chipping whatsoever. I'm hoping they'll last me till Christmas so I can show them off.
I suspected the wraps would look fake but they are look pretty natural and well bonded to my nails. There's no weight and I actually can't tell if I have anything on, as with nail paints.
I've heard mixed reviews on Jamberry wraps. They are time consuming...Yes! but I found that having the application kit made it super easy. I had everything I needed and the products were not cheap quality either. I can imagine it being quite a cumbersome process if I had to collect everything and also use a hair dryer.
I haven't taken my wraps off yet but have read a few methods to do so- dipping in nail paint remover for a 20-30 seconds, using Coconut, oilve oil, lemon and a few other tricks. Whatever you do, peeling off with hands is not recommended. It can wreck your nail. I haven't done this procedure yet so I don't know how easy or hard it is. I can't tell if the wraps will leave my nails damaged. I will be sure to update this post in a few days with my preferred removal method & if the wraps have damaged my natural nail. Might post a video or two on my Instagram Story as well.
Jamberry NZ website looks pretty cool, is user friendly and has a list of consultants that you can search based on your location. You can shop online from the website too.
1 Nail wrap sheet costs $24 NZD
Mini heater costs $31
Application kit without cuticle oil - $20 (The one I got in media pack)
 |
| Remaining sheet after doing both hands! |
I will surely try on more designs now that I have 3 more to play with. I love that there's 300 more designs that I can choose from. Some of them are really your dream mani's that you see on Instagram pages. I'll probably never be able to master nail art with nail paints but mastering Jamberry Nail wrap application seems to be completely do-able.
My positive outlook as of now can also vary depending on the ease of taking them off in 10 days time. I'll report back.
Q. Have you ever tried Jamberry Nail wraps? What are your thoughts on them? Talk to me in the comments below
Catch you soon!
Nishu
The products were sent by brands PR. However my views are honest, as always.









Post a Comment