
Well well well I have never had gel nails done at a salon so should you be even trusting my opinion? Maybe you can! I know a thing or two about nail paints, I can do decent nail art, I've had a successful stint with Jamberry Nail Wraps and I use base & top coat! I'm fancy like that.
For me, Gel Manicures have always been fetish of the rich. If I can't afford it, I don't bother about it. I'd rather buy a week's groceries with $70 you see.
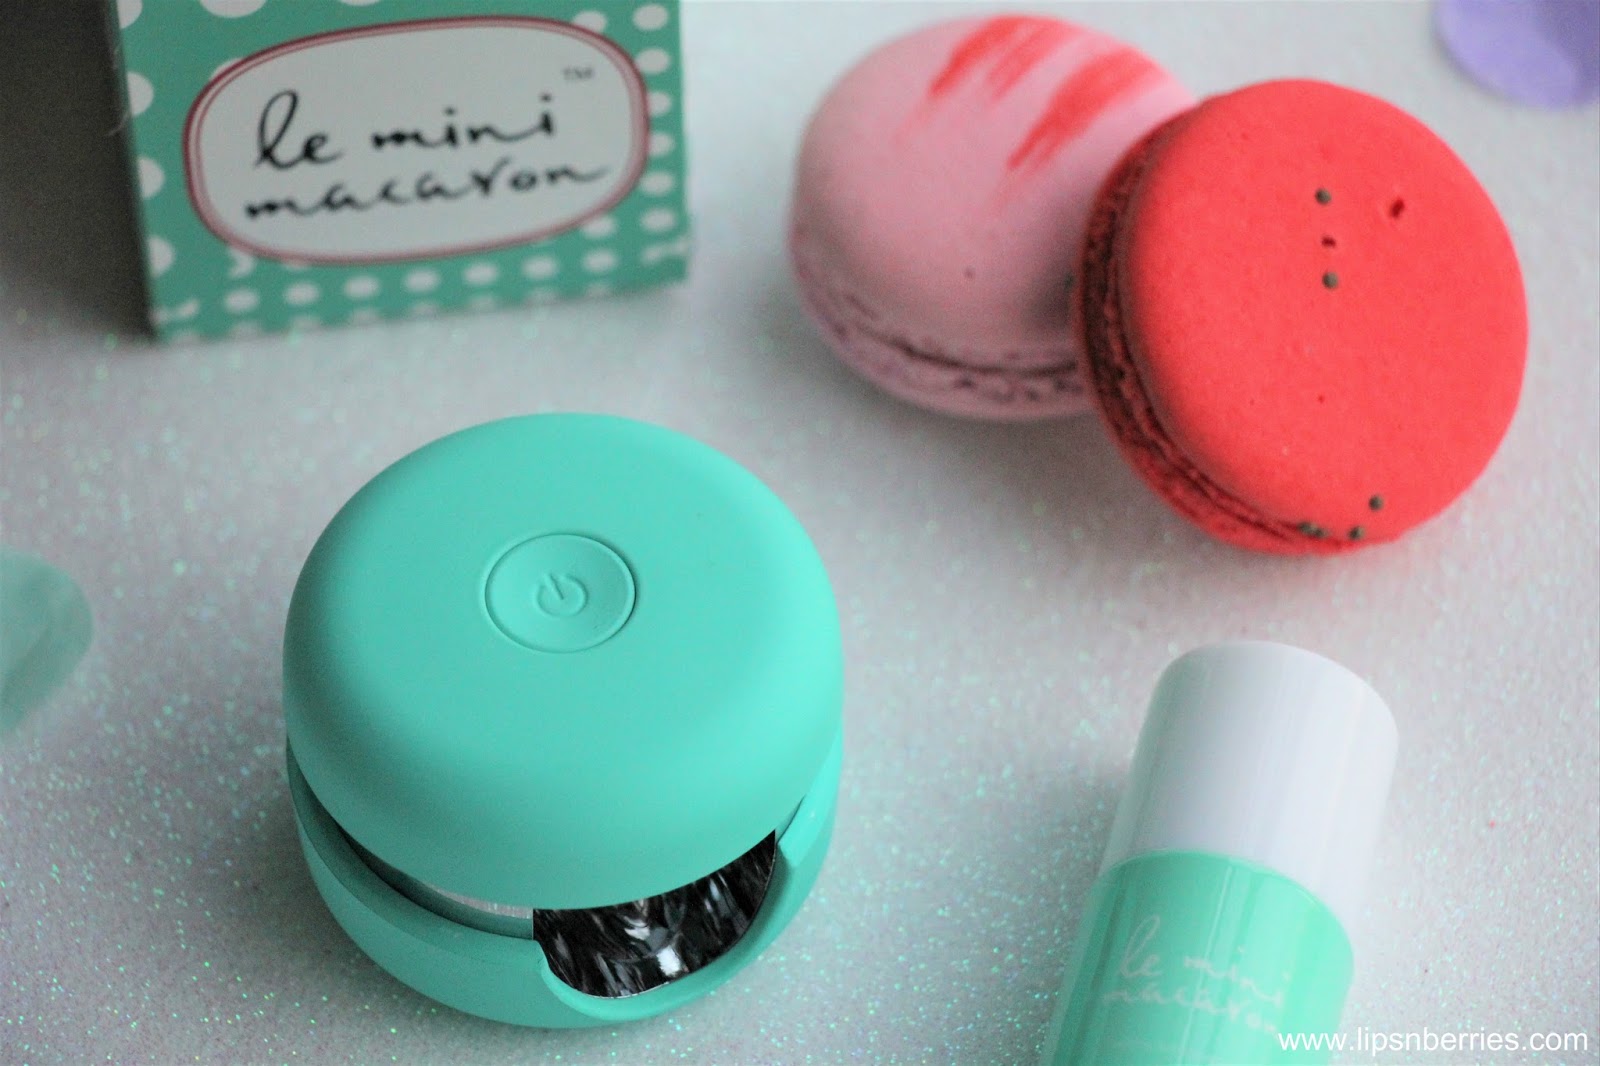
Well all that until I came across this French Affair a month or two ago! A hella cute French Macaron shaped Gel Manicure kit. This guy was born out of a successful Kickstarter campaign in the US and has been making waves ever since.
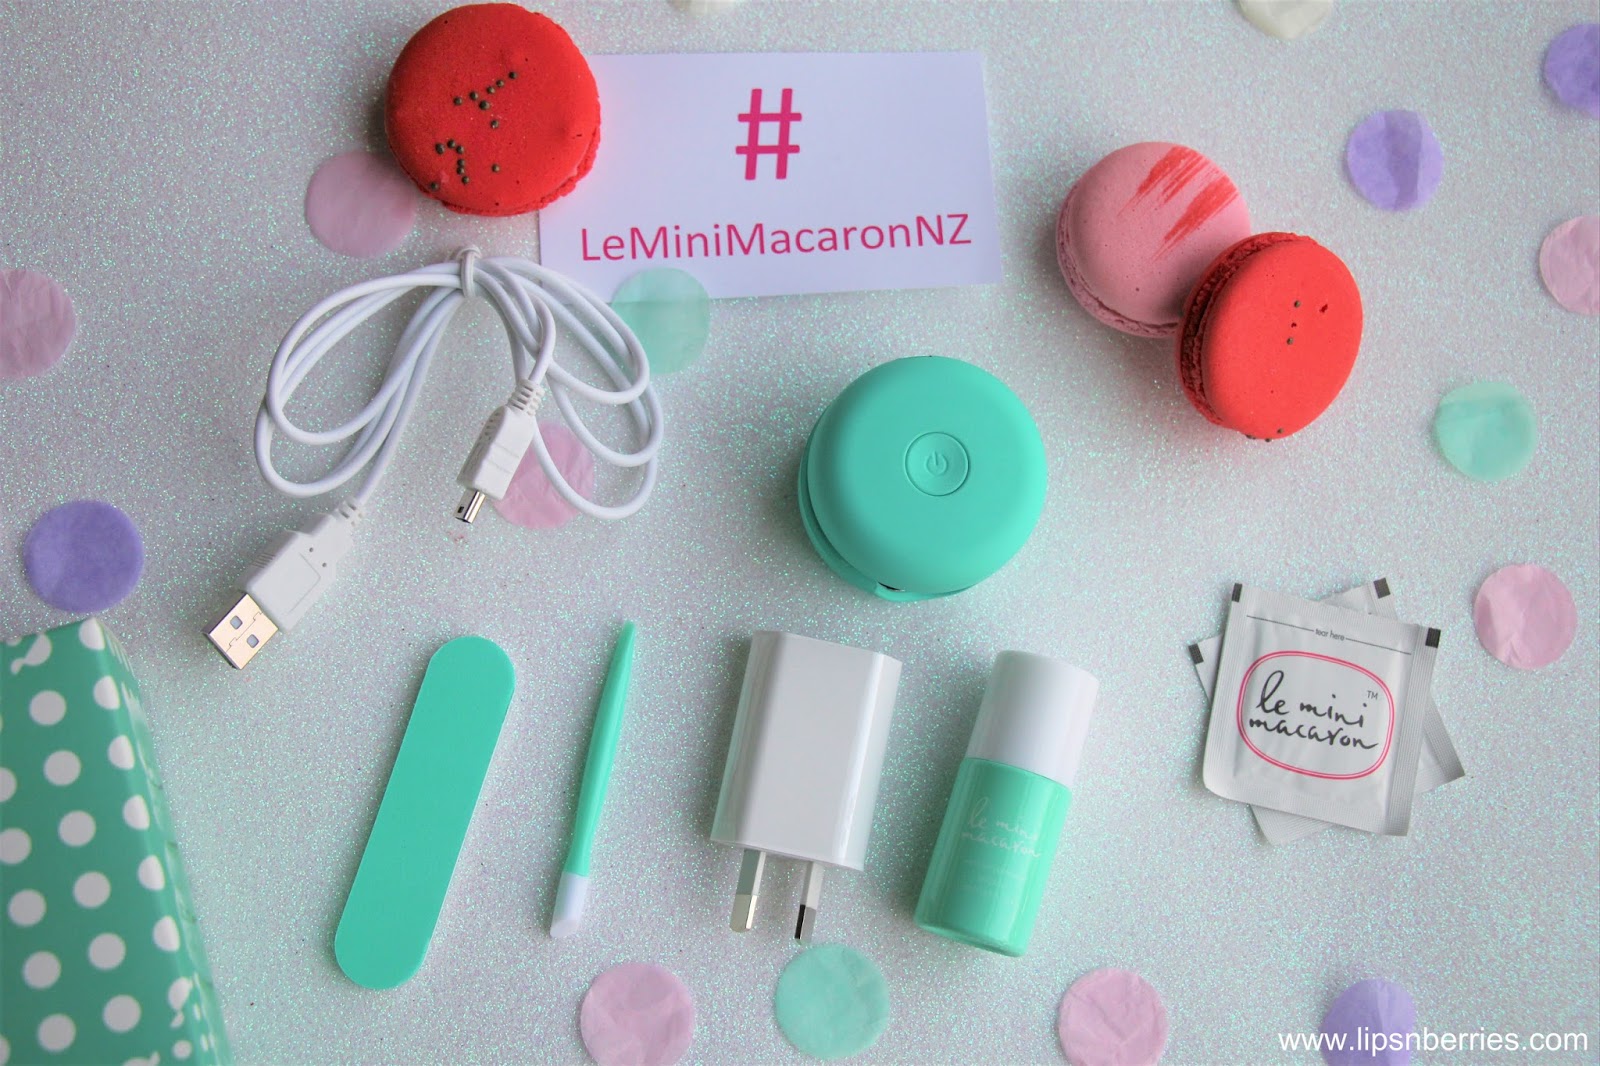
I was gifted the Gel Manicure kit in Sweet Mint (worth $69.99). The kit contains a Macaron shaped LED lamp, matching nail polish (sweet mint), nail file, cuticle stick, ten remover pads & a USB cord that plugs in anywhere from office desk to a usb port in the plane!
The first nail look I attempted during the press event was using the peach kit (Photo below). My application skills were raw and I found the polish peeling off in droves 3 days later. Umm.. turns out there is something called 'Instruction Manual' that i should pay some attention to.


The next manicure I did was Cherry Red nail polish. Considering its winters here in NZ, I wanted a richer shade on my nails. I'll show you the mint one as soon as Spring hits (come soon September!).
Well lo and behold, this time the mani stayed an easy 1.5 weeks and counting, so I've decided to blog about it. An easy step by step tutorial on how to master application. Not that it requires some scientific skills, just some basic pointers.
Here you go-
Step 1: Wash hands thoroughly. Ensure there's no hand cream or oil on nails. Best to give them a wipe with non-moisturizing nail paint remover/Acetone.

Step 2: File your nails to desired shape. I went for a no frills almond shape. Also kept my nails real short.
I have to say the nail file in the pack wasn't adequate for this purpose. Its best to use your regular nail filer, which I did.


Step 4: Make the nail surface rough using nail file. Now that's what this file is actually for!


Step 5: Take the tiniest amount of 3-in-1 nail polish and apply first coat. Its best to circle the brush a couple of times to get rid of most of nail polish. The thinner the first coat, the longer gel manicure will stay. This is probably the most important tip of the whole process!


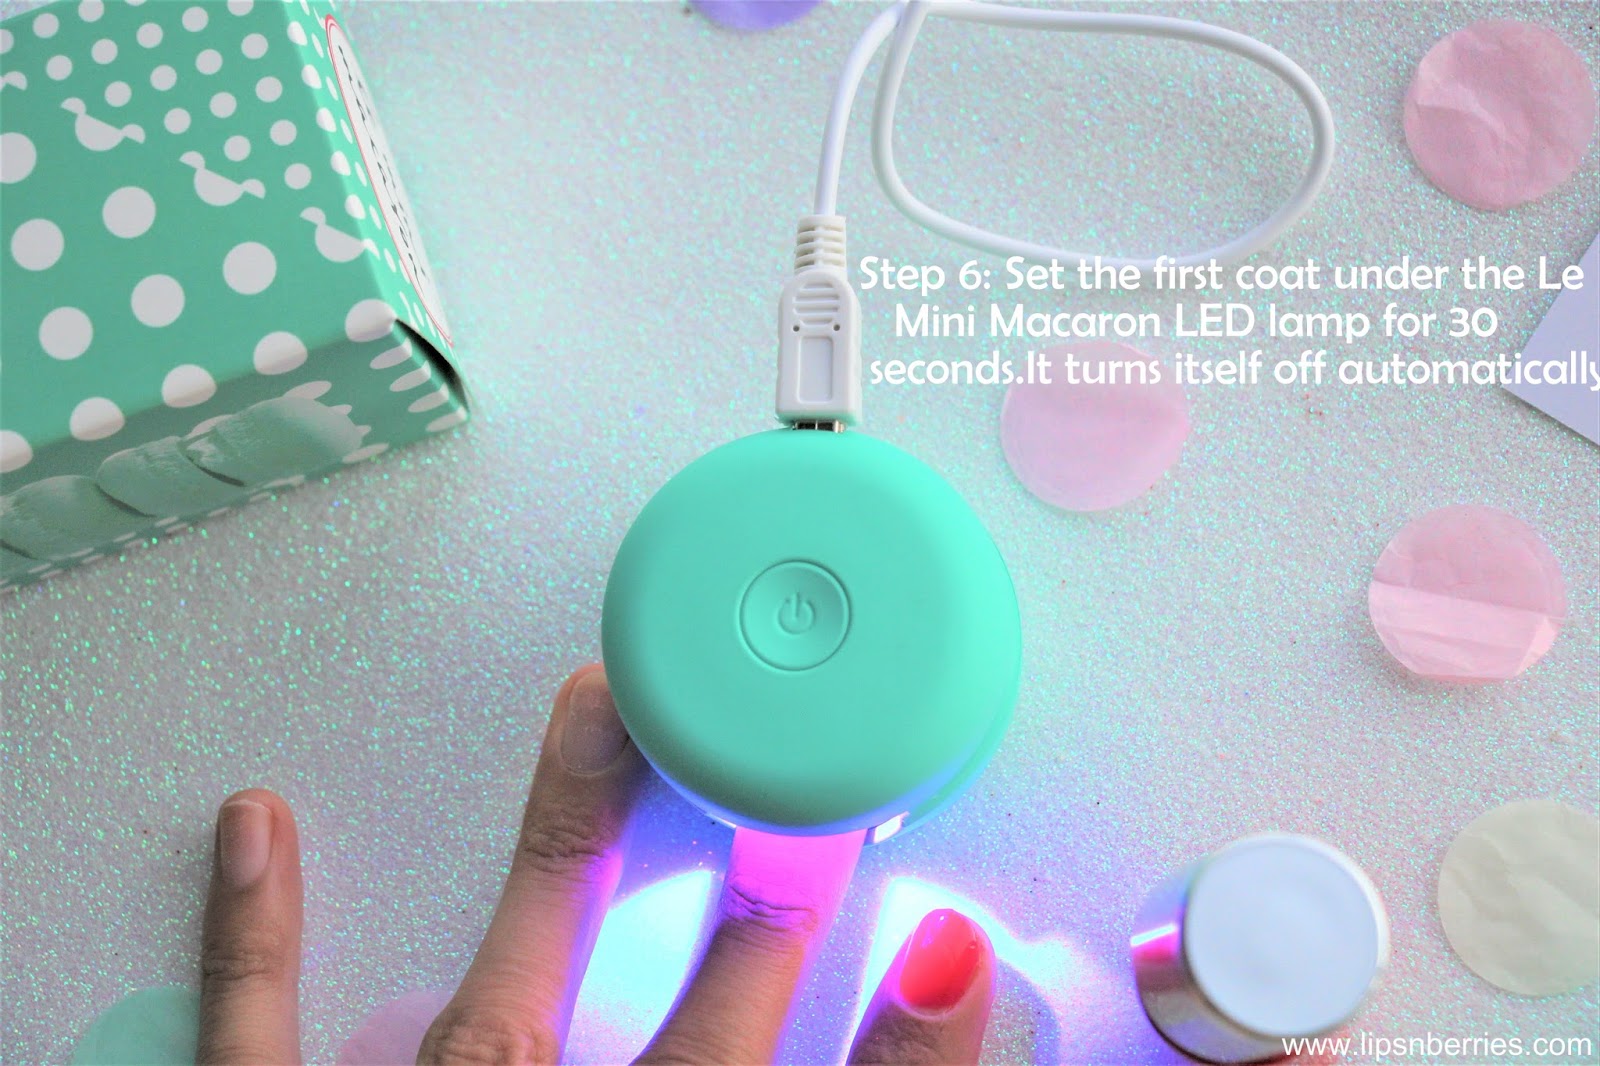
Step 6: Set the first coat under the macaron shaped LED lamp. Gel polishes are different from our regular nail paints. They require light (UV, LED etc) to cure and set (not air). The lamp turns on for 30 seconds and then automatically turns off. In flat 30 seconds, the nail paint is set. If you've gone thicker, you can use it for a couple more seconds, though its recommended the first coat be very thin.
Step 7: Apply a thin second coat of nail polish.

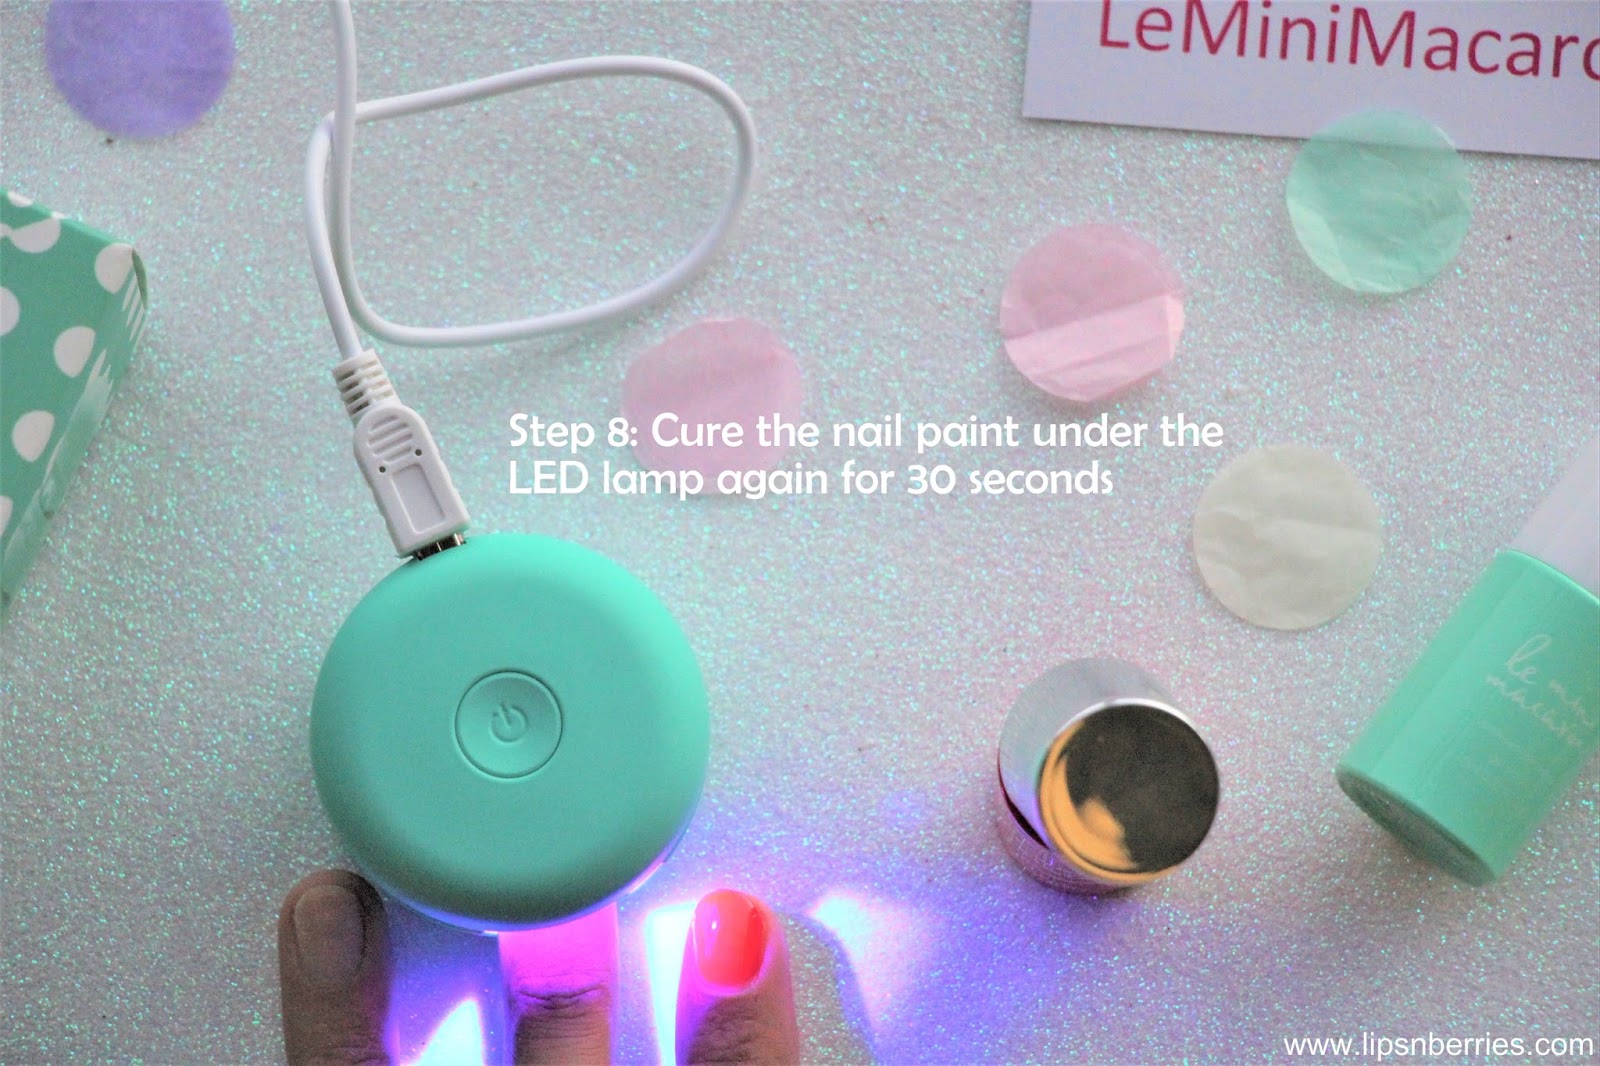
Step 8: As done before, set the second coat under LED lamp for 30 seconds.
Step 9: If you are happy with the opacity and look of your manicure, you do not need to do this step. I wanted a fully opaque red so went for a third coat.
Before the last coat, apply some nail polish on the outside of nail (the curve shape). This seals the paint well and prevents easy chips. After doing the outside, run the brush across to finish with third coat.

Step 10: Cure the nail polish for one last time & voila! Done!

Here's the finished look.

So basically you set each layer of nail polish with the LED Lamp, 30 seconds x 3 times is 1.5 minutes. If I factor in nail paint application I can do one nail in 2 minutes so full manicure would be a 20 minute affair. Be it on your desk or on the go with the usb stick!
If I had gone for just 2 coats, the manicure would have taken about 15 minutes. That's a pretty good time saving if you factor in the travel to and from salon and the money + energy involved. Right? Advanced maths skills yo!
I'm in love with the results. Also love the fact that the LED lamp is held together by a magnet and can be rotated to even do Pedicures! There's no way my toe nails would fit into that Macaron hole. That's a brilliant piece of innovation I say.
Also, note that the kit comes with removable pads so you don't have to worry about visiting a salon to gel nail nails off. You have to wrap your nail in the remover pad for 15 minutes and the nail polish should come right off. I failed to read instructions and couldn't make out why gel nails were acting stubborn after I'd used the pad for only 2 minutes. Gotta remember that gel nail paints are a class apart! You can't take them off as easy as our regular nail polishes.
The best part about gel nails is definitely the vibrant colors and shine! So much shine! Le Mini Macaron Nail polishes are 3-in-1 so they have base coat, polish and shiny top coat all in one. Genius!
Disclaimer- I find manicure on my left hand stays intact for more days than the right hand. I blame the non-ambidextrous application skills and the fact that I have a thing for peeling labels and what not with my right hand nails.
Le Mini Macaron Gel Manicure kits are available in 8 kit colors (a pastel peach & pink macaron kit & more!) with single 16 nail polish colors available in total. Looks like they will be adding more colors to the party! Yay!
The Gel Manicure Kit that I was gifted is available for $69.99 NZD from the Le Mini Macaron NZ website www.leminimacaron.co.nz & various other websites worldwide. Google is your best friend.
The single 3-in-1 Gel polish - RRP $21.99
Remover Kit (100 remover pads)- RRP $24.99

Are you fond of gel nails? Is this something that'll save you time & money? Hows the cute macaron LED lamp though?
Talk to me in the comments below :)
Love
Nishu


Post a Comment